Background
This is a long over-due project that I finally got around to doing. As all machinists know, when you machine material on a mill the after-effect is a burr on at least one side of the part which requires removal before that edge can be clamped in the vice again. The burr removal usually requires a file or sander to get rid of which is laborious and a pain in the neck as it can break your machining rhythm.
Construction
After looking at several DIY built chamfer machines I came up with what I think is a simple and fairly cheap design that works pretty good. The basic components I used are as follows:
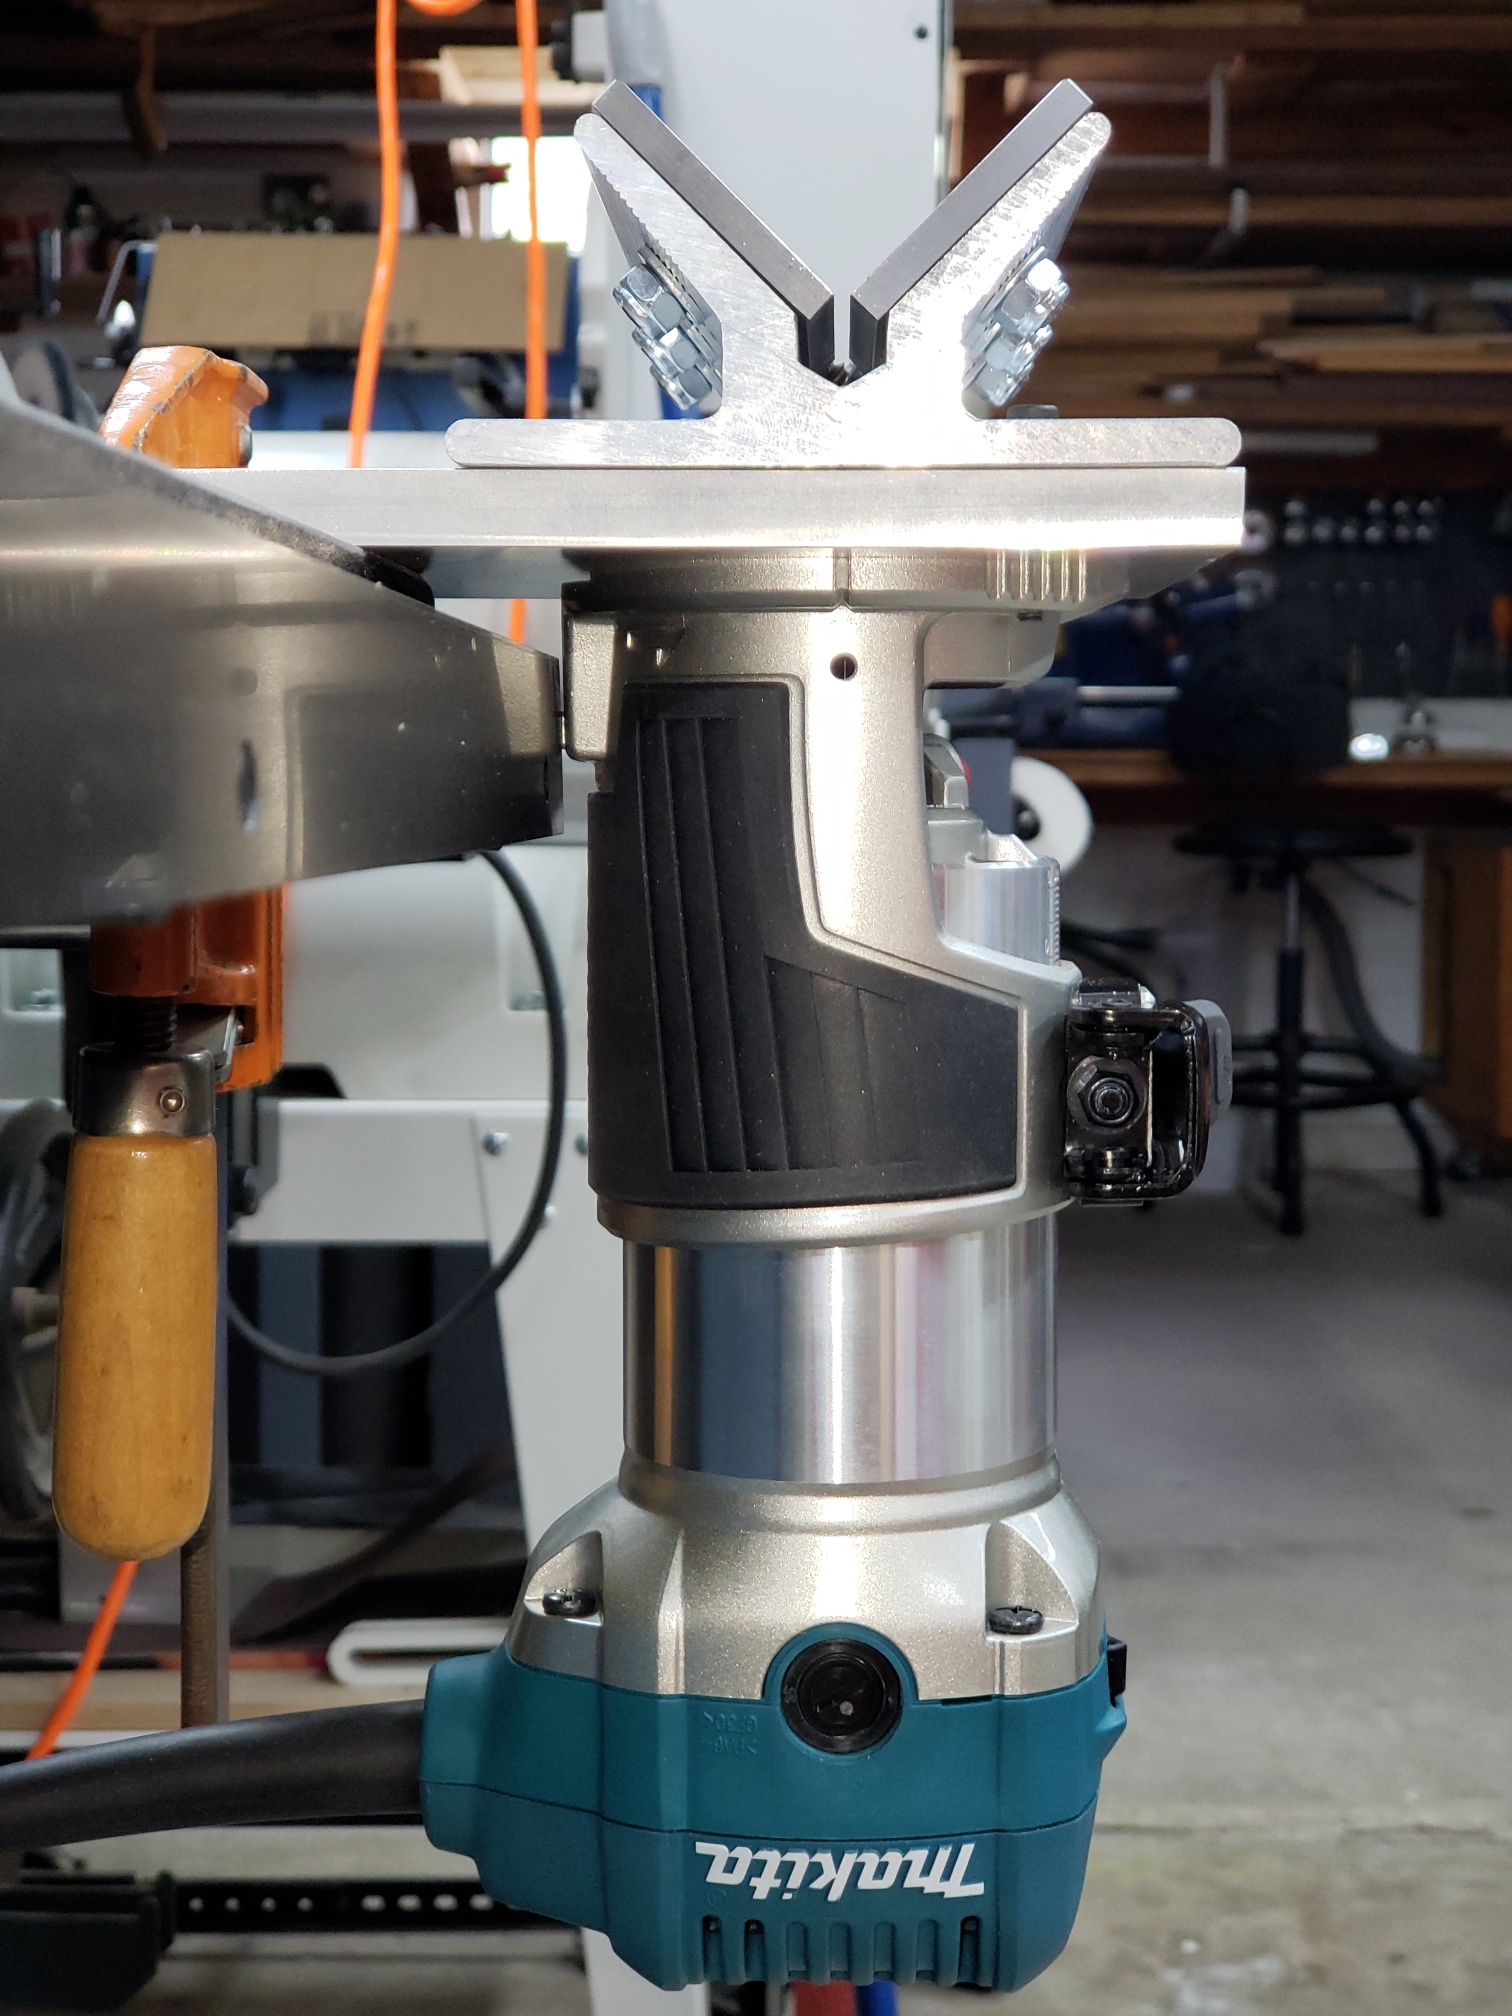
- Makita RT0701C 1-1/4 HP Compact Router
- Drill Press V-Block Fixture or machine yourself a v-block.
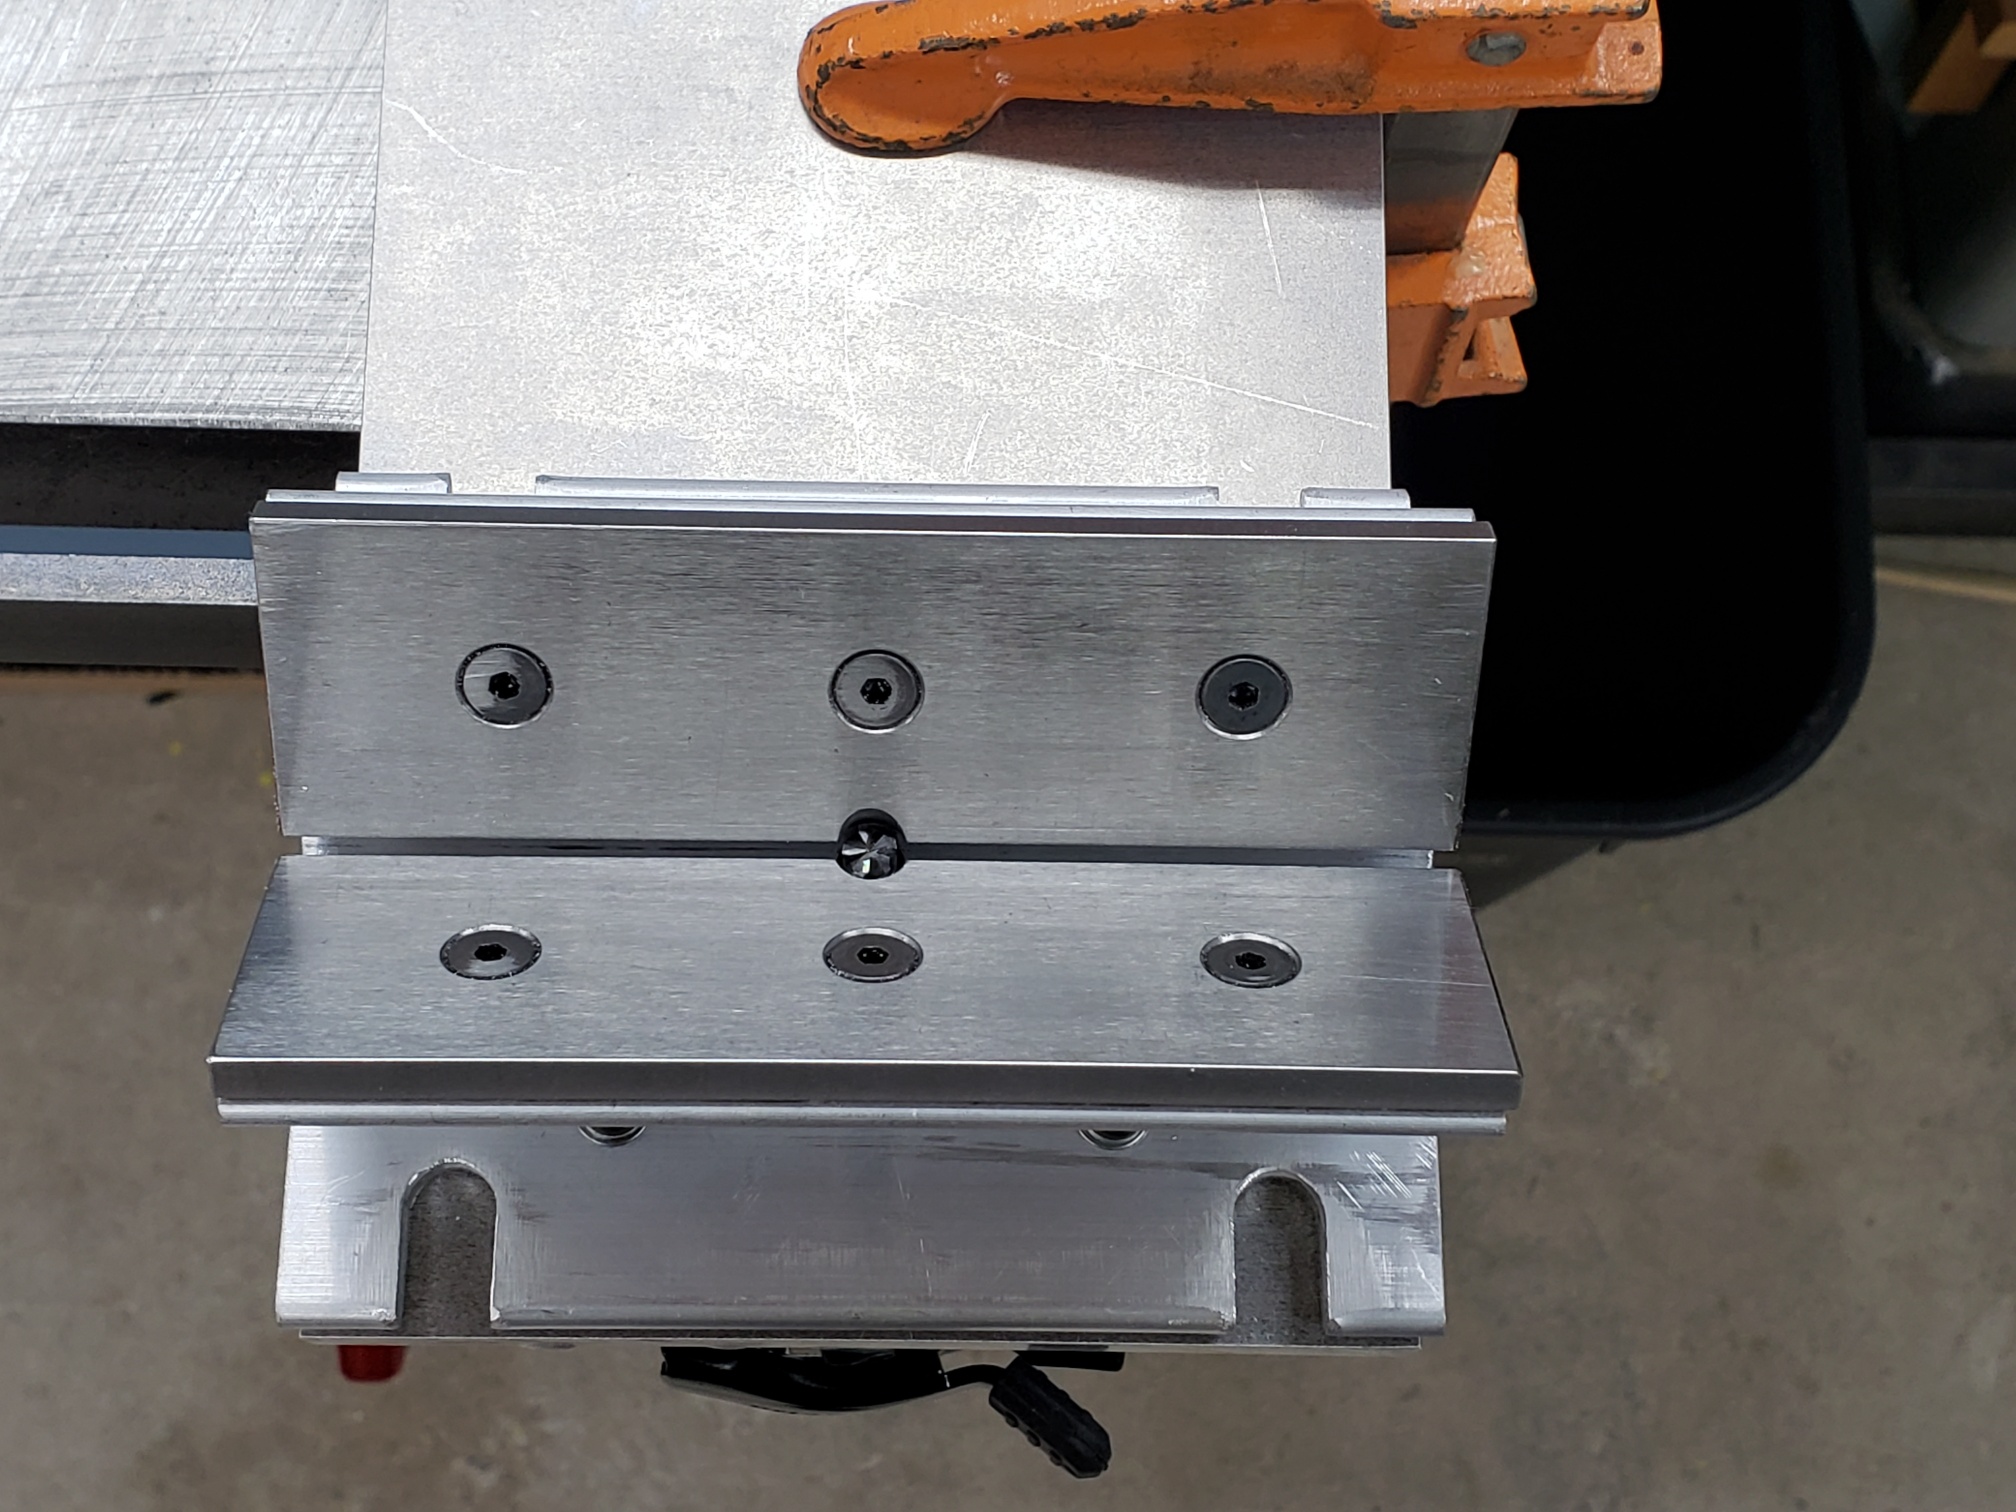
- Two (2) sole plates (1.5″ x 5″ x 3/16″) to guide the part to be deburred.
3/16 O1 tool steel, but almost any material could be used except aluminum as it will scratch and gall, it’s just too soft. - 3/8″ x 5″ x 8″ 6061 aluminum plate to clamp the machine to a table (size to suit).
- Four (4) 4mm x 3/4″ socket heat cap screws to mount v-block and clamping plate to router base.
- Six (6) 10-32 x 3/4″ flat head screws and nuts to mount sole plates to the v-block.
Note: Taping the 6 holes would be desirable as the v-block is not constant thickness and will cock the screw heads slightly when tightened unless spot faced on the back side. - 1/4 carbide end mill (or whatever you have on hand).
Conclusion
I’m pleased with the way this little machine performs. The chamfer is as good as how smoothly you push the part through the cutter and how flat the part is.
Setting the chamfer width (cutter height) is a little fiddly since the router is upside down, but learning comes quickly.
Total cost ~$120 (depending on the router used and materials on-hand),
Modification
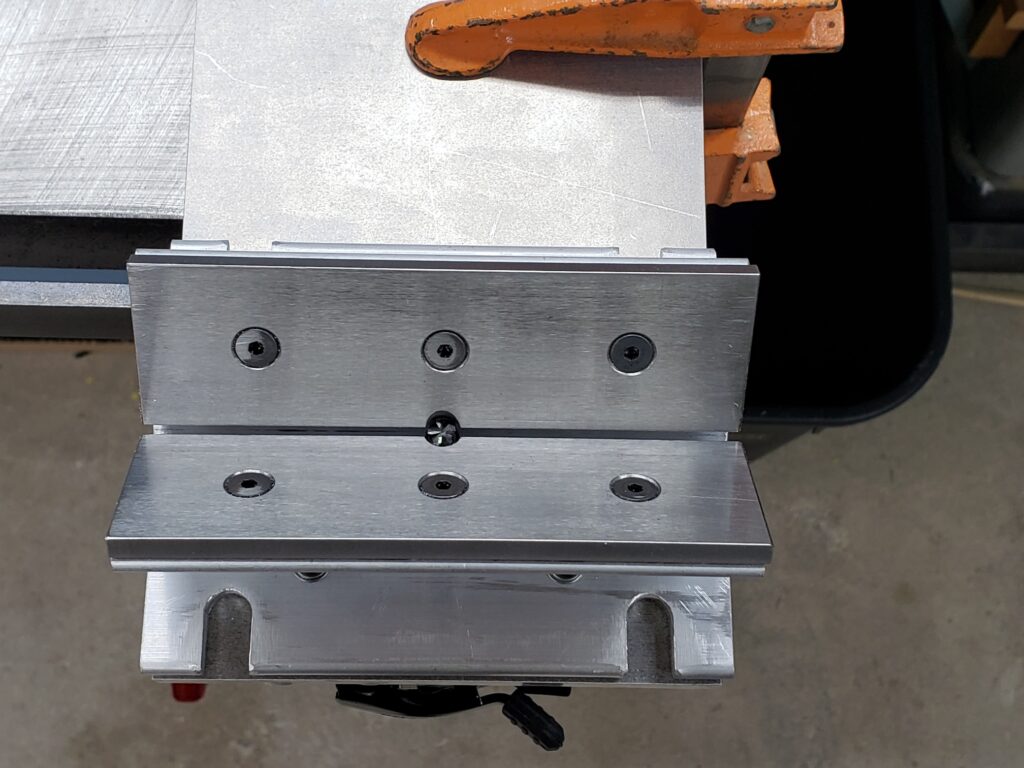
Turns out that the countersunk holes in the sole plates will catch the edge of the pieces you are running across the machine if they are not completely flat and free of surface imperfections. So I made another pair that were drilled and tapped from the back. These new plates had to be thicker (1/4″) to allow for the 10-32 blind holes, but made of the same O1 tool steel.
Additionally, I heat treated the new sole plates to make them as durable as possible.
Photo Library
(click an image to enlarge, hit back-button to return).
Sole Plates 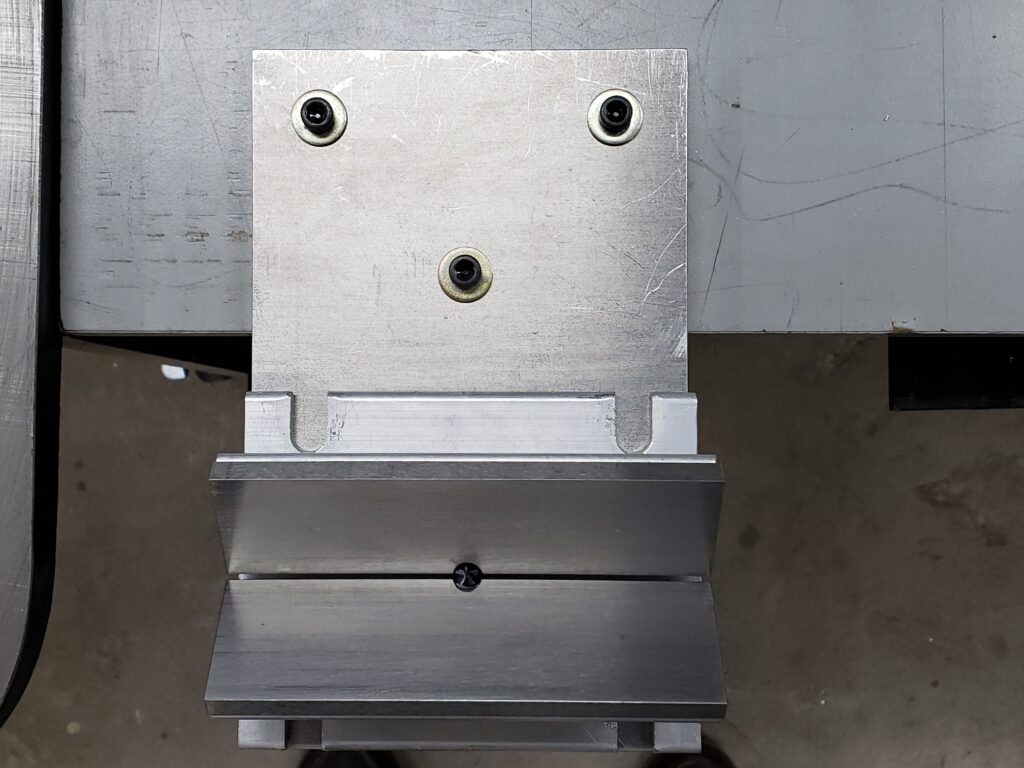
New Sole Plates 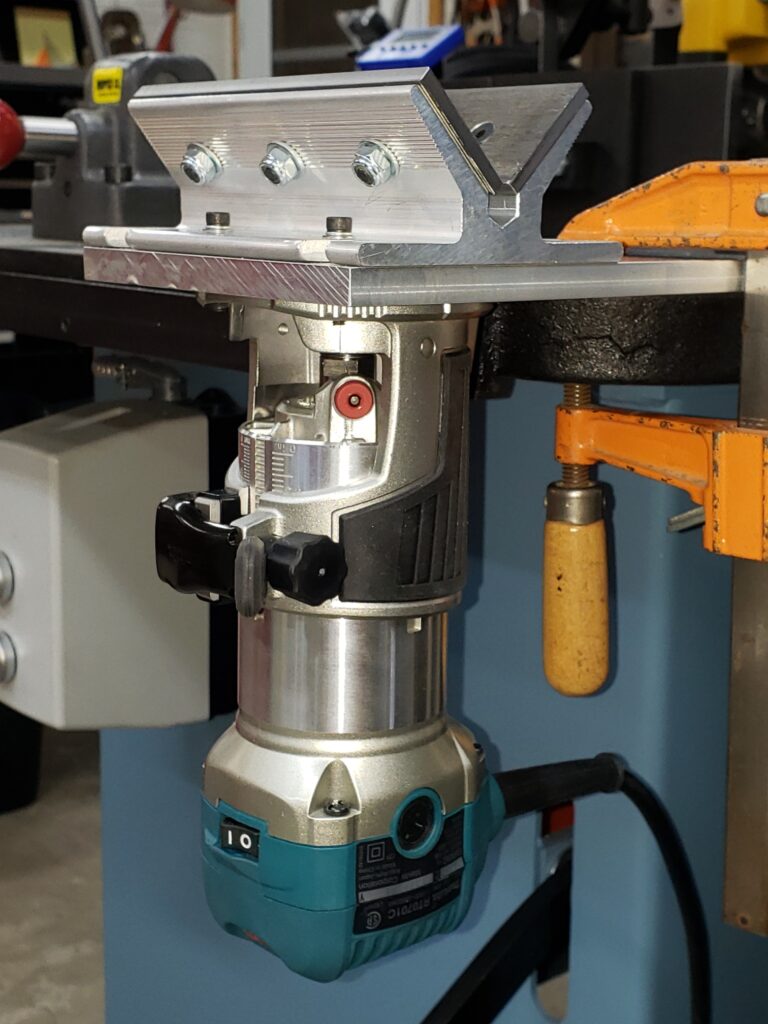
Machine Clamped to Table 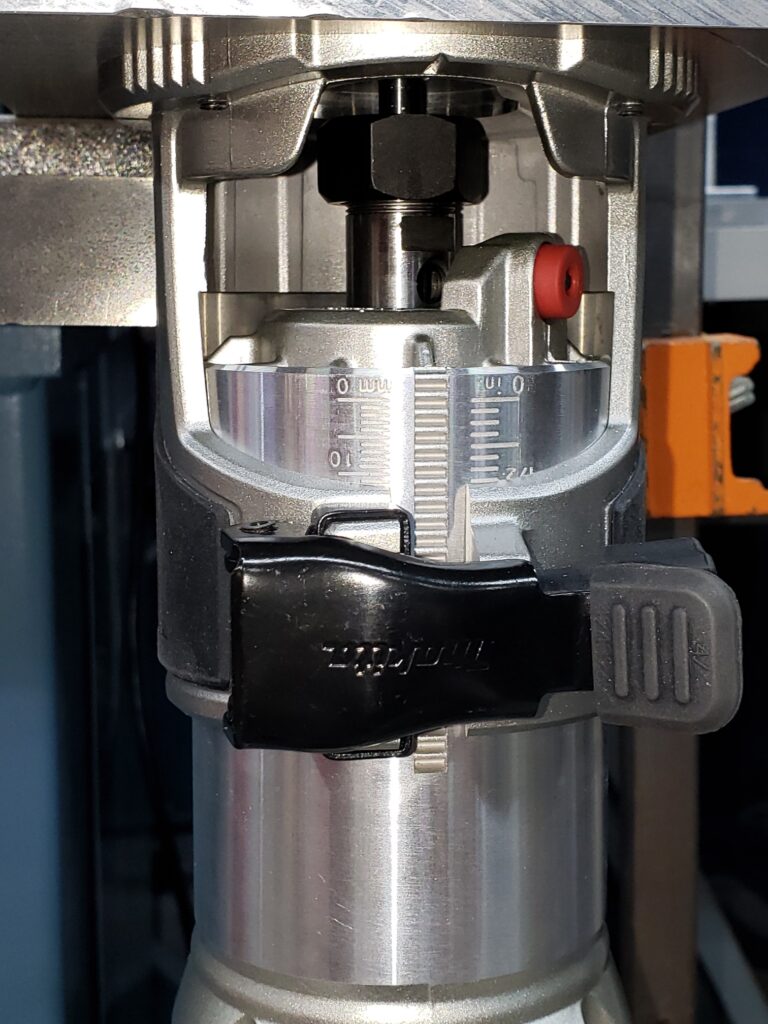
Collet and Adjuster 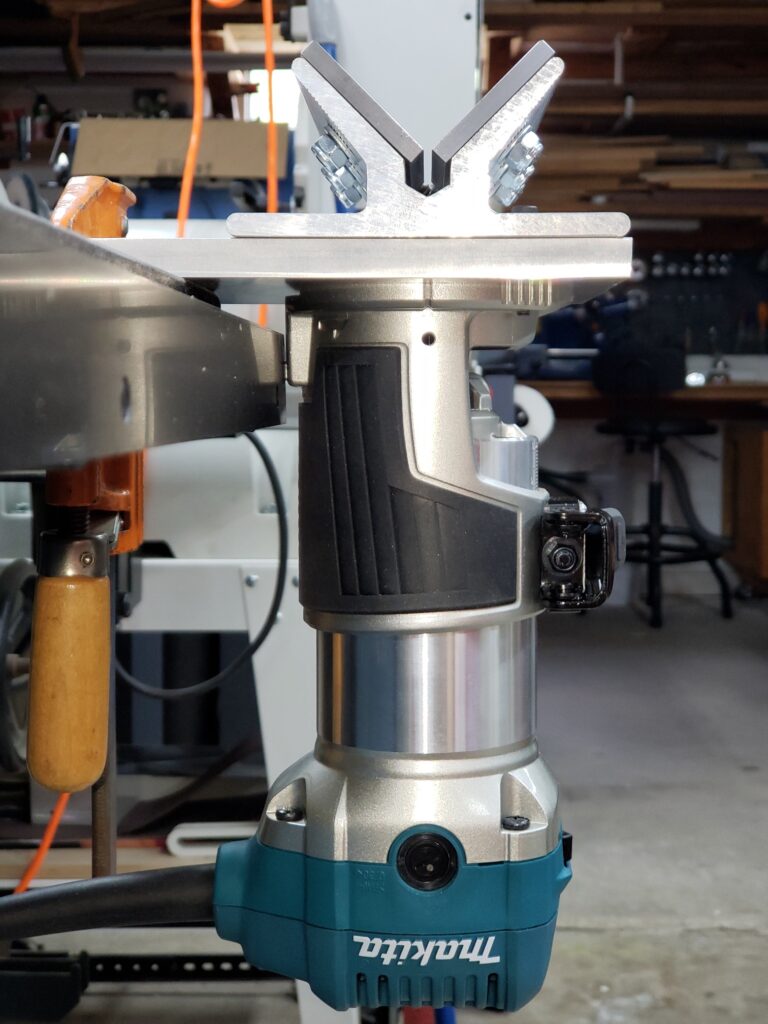
View Showing V-Block and Clamping Plate 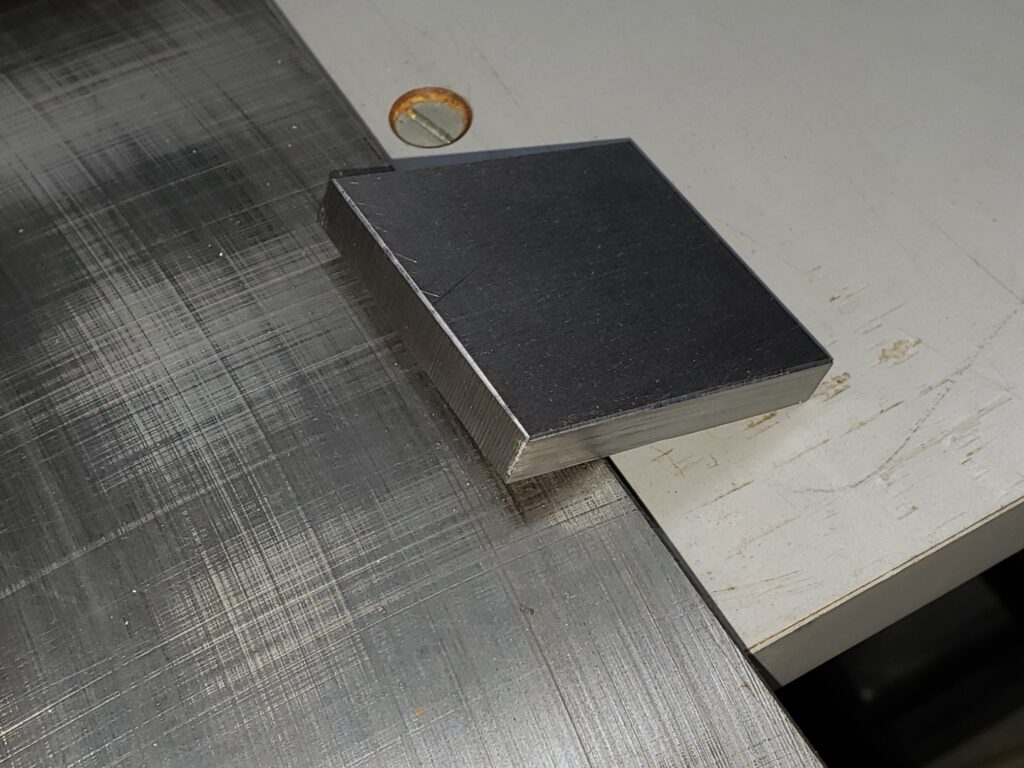
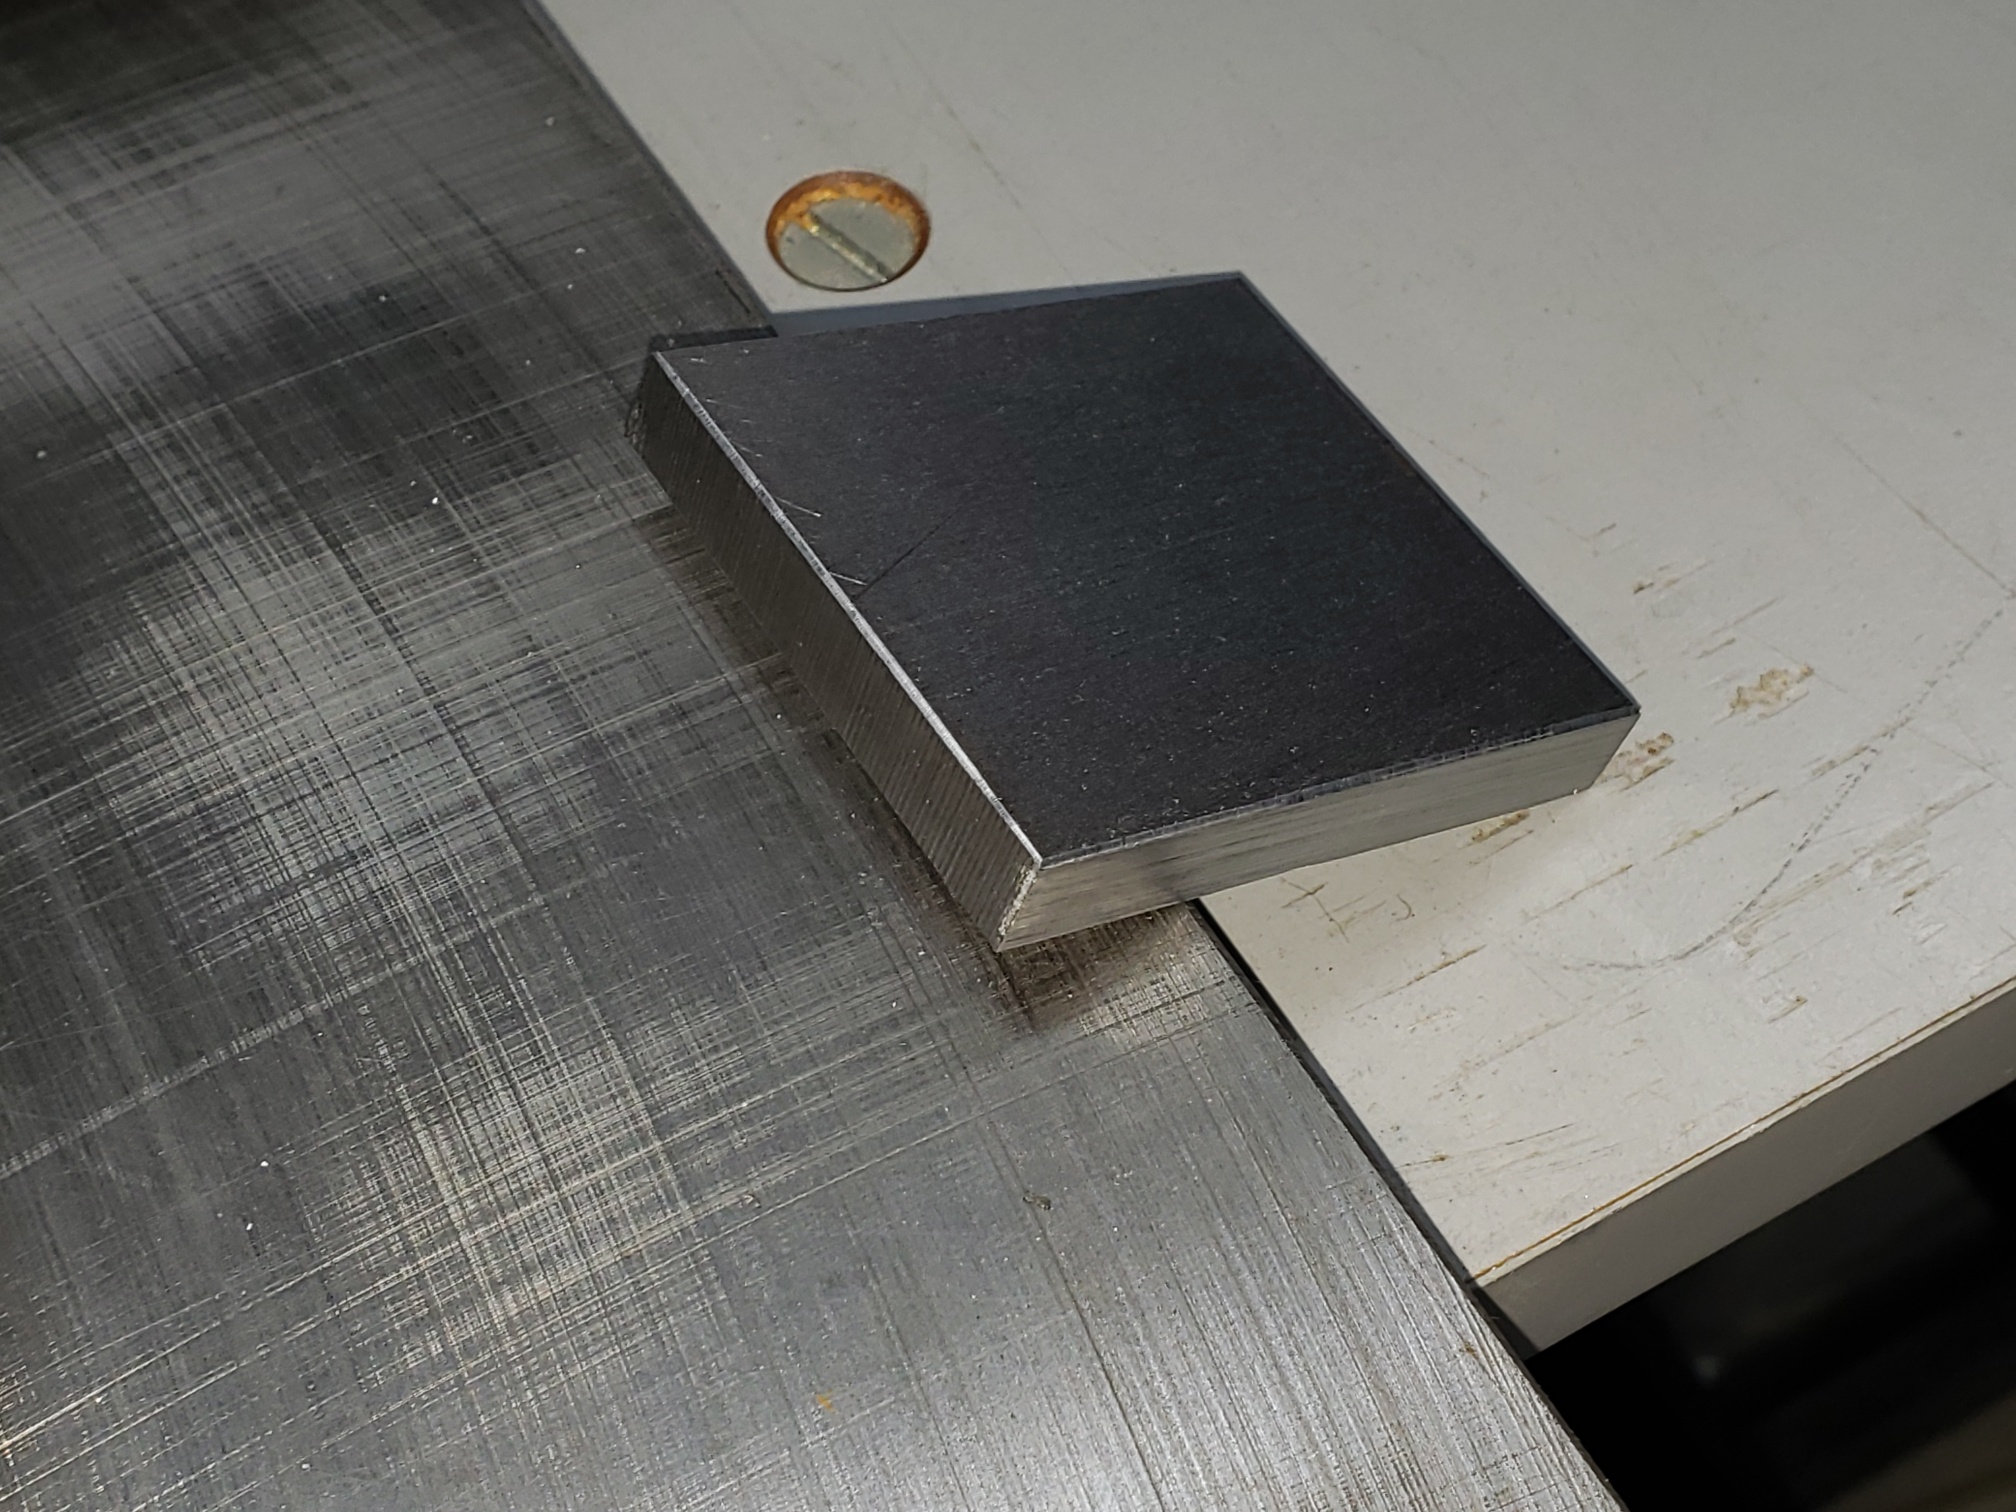
Chamfered Part